Quick Start
1. Download
On the download page, pick the Protector4J build that matches your computer:
- Windows: download the
.exeinstaller. - macOS: download the Apple Silicon or the Intel
.dmg, depending on your Mac's chip. - Linux: download the Linux x64 archive.
2. Launch
- Windows: after installing, start Protector4J from the Start menu.
- macOS: open the
.dmgand dragProtector4J.appinto Applications, then launch it. - Linux: unpack the archive, open a terminal in the extracted directory, and run
./p4j-ui.sh.
3. Protect an application
Step 1: Sign in to get a full license
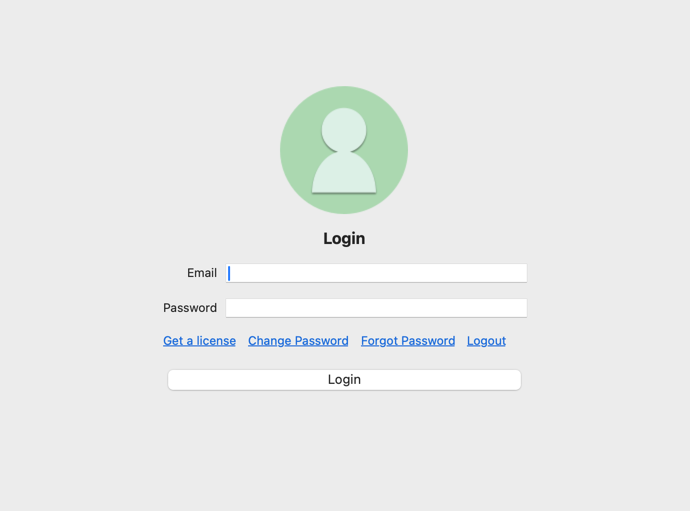
- Click Login in the top-right corner of the window.
- Enter your account email and password, then click Login.
- Once you are signed in, the account is shown in the top-right corner. Any application protected while the license is valid receives a full license.
🎉 You can try Protector4J without an account.
If you do not have an account yet, you can still go through the entire protection process. Without signing in, the protected application is issued a 7-day trial license and runs normally until the trial ends.
After that, the trial package will not start, and any trial application still running shuts down on its own. For long-term use, sign in with a licensed account and protect the application again to produce a package with a full license.
Step 2: Choose the application type
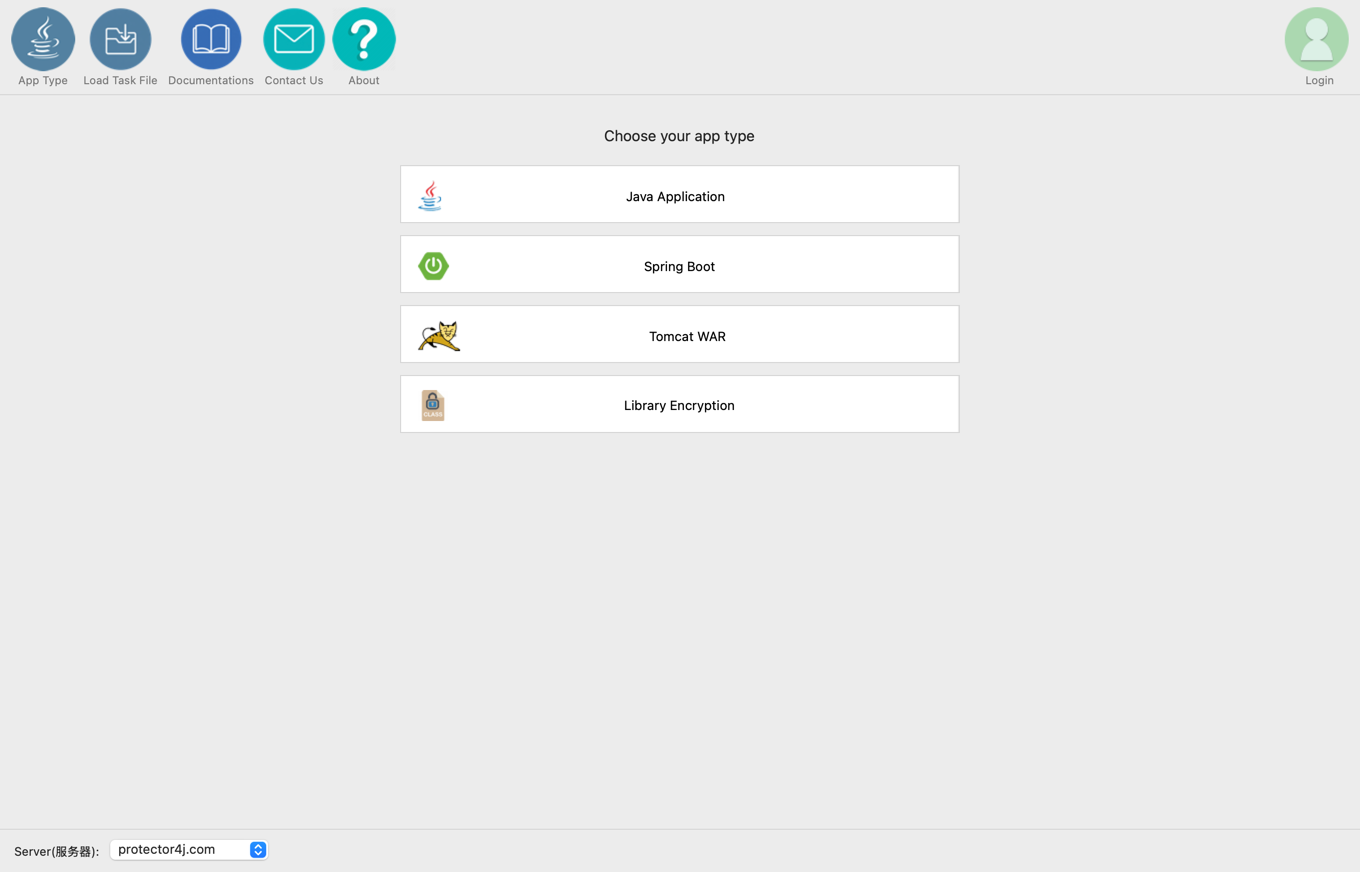
After launching, select the option that matches the file you want to protect:
- An ordinary executable JAR: choose Java Application.
- A Spring Boot application: choose Spring Boot.
- A Tomcat WAR: choose Tomcat WAR.
- A JAR whose classes you only want encrypted: choose Library Encryption.
Step 3: Choose the input file and target platforms
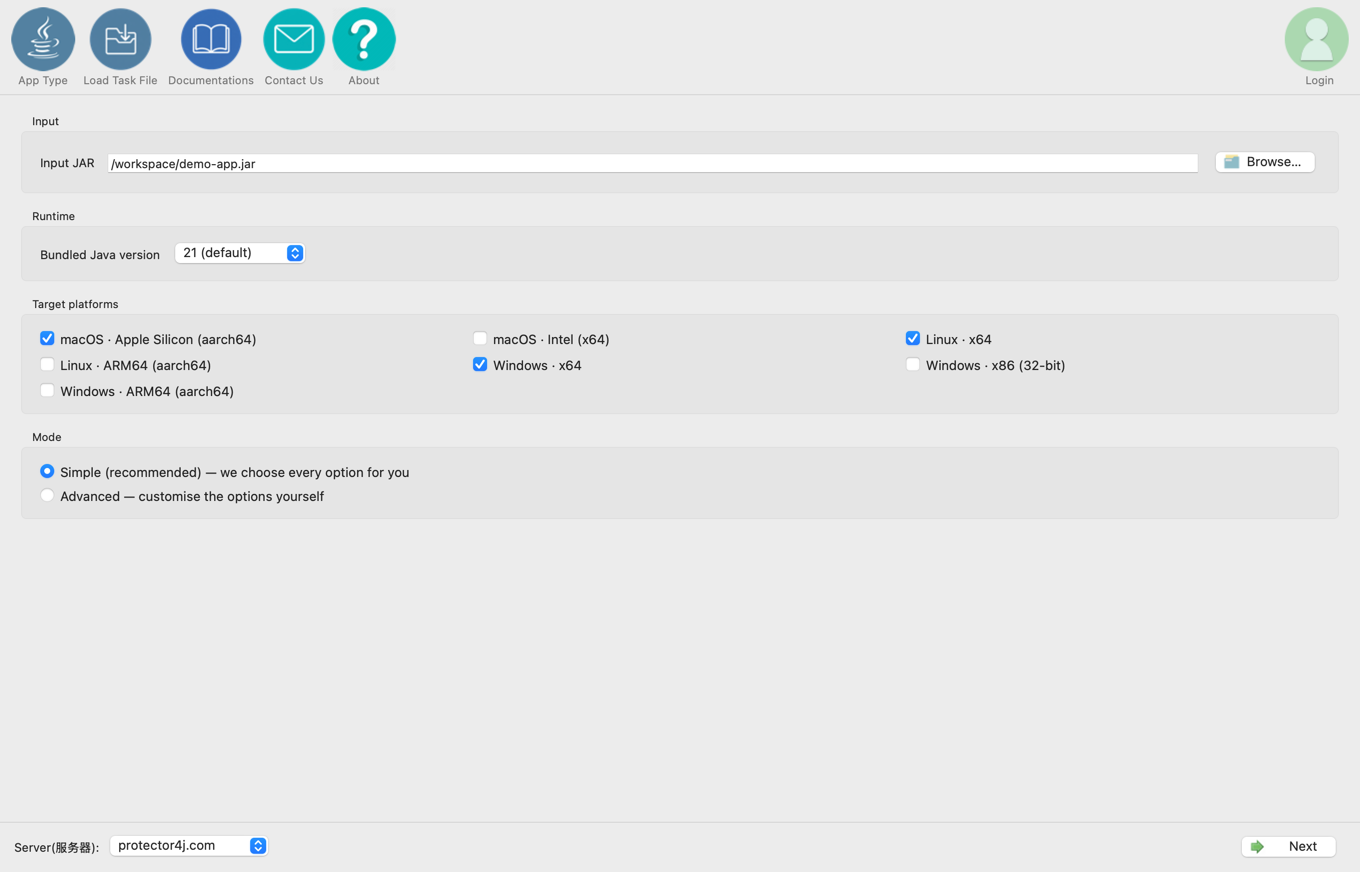
- Click Browse… and select the JAR or WAR you want to protect.
- Under Bundled Java version, choose the Java version your application needs. Leave it at 21 (default) if you are not sure.
- Under Target platforms, tick every system the application will run on. You can select several at once.
- Leave Simple (recommended) as it is and click Next.
Step 4: Wait for the automatic check
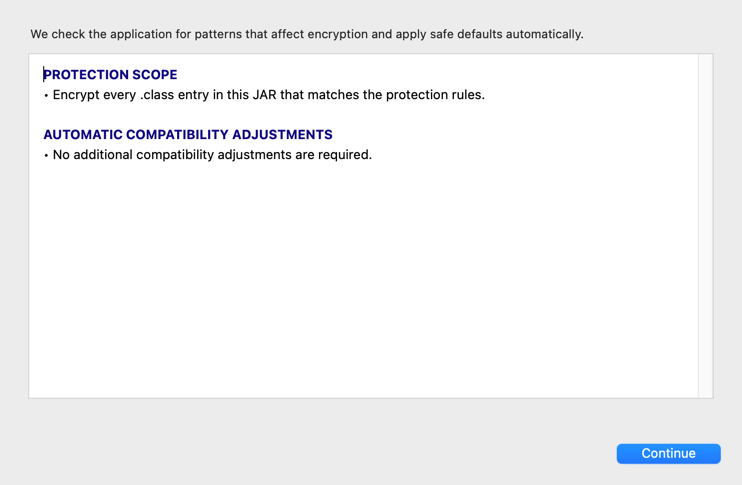
Simple mode scans the application and picks safe defaults for you. When the scan finishes, review the results and click Continue.
Step 5: Confirm the output and start
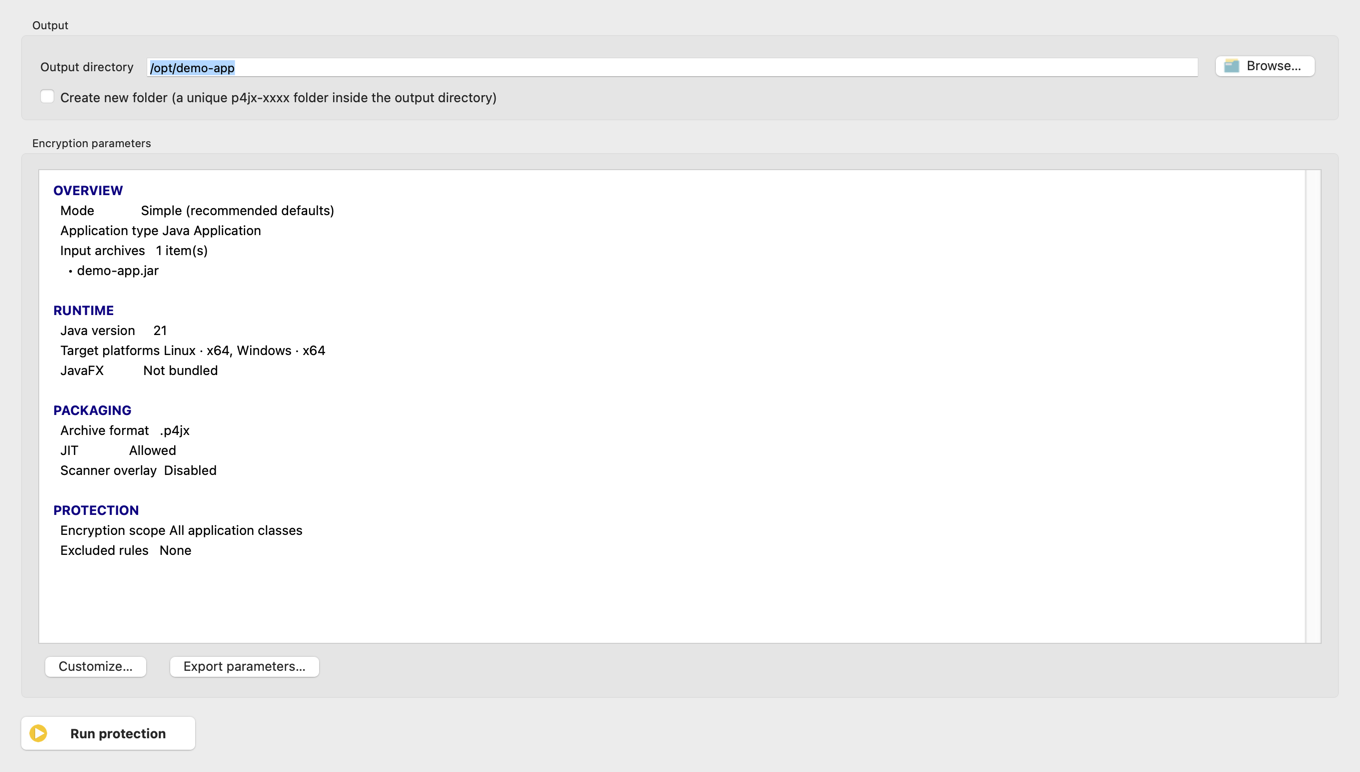
- Choose where to write the result under Output directory.
- Check the application type, Java version, and target platforms in the summary.
- To change the protection scope, JVM startup options, or anything else, click Customize…. After making your changes, click Next to come back to this page and check the summary again.
- When everything looks right, click Run protection.
- Wait for Protection finished in the progress window, then open the output directory it names.
Step 6: Run the protected application
The output directory holds the application, the runtime, and the startup scripts. Keep them together.
- Windows: double-click
run.bat, or runrun.batfrom the command line. - macOS: double-click
run.command, or run./run.shin Terminal. - Linux: run
./run.shin a terminal.
To adjust the protection scope or any other option, see the GUI Guide.