Protect Java Library
Library Encryption maps to the low-level encode command. It produces the protected archive only — it does not copy a runtime and does not generate startup scripts.
1. Using the GUI
-
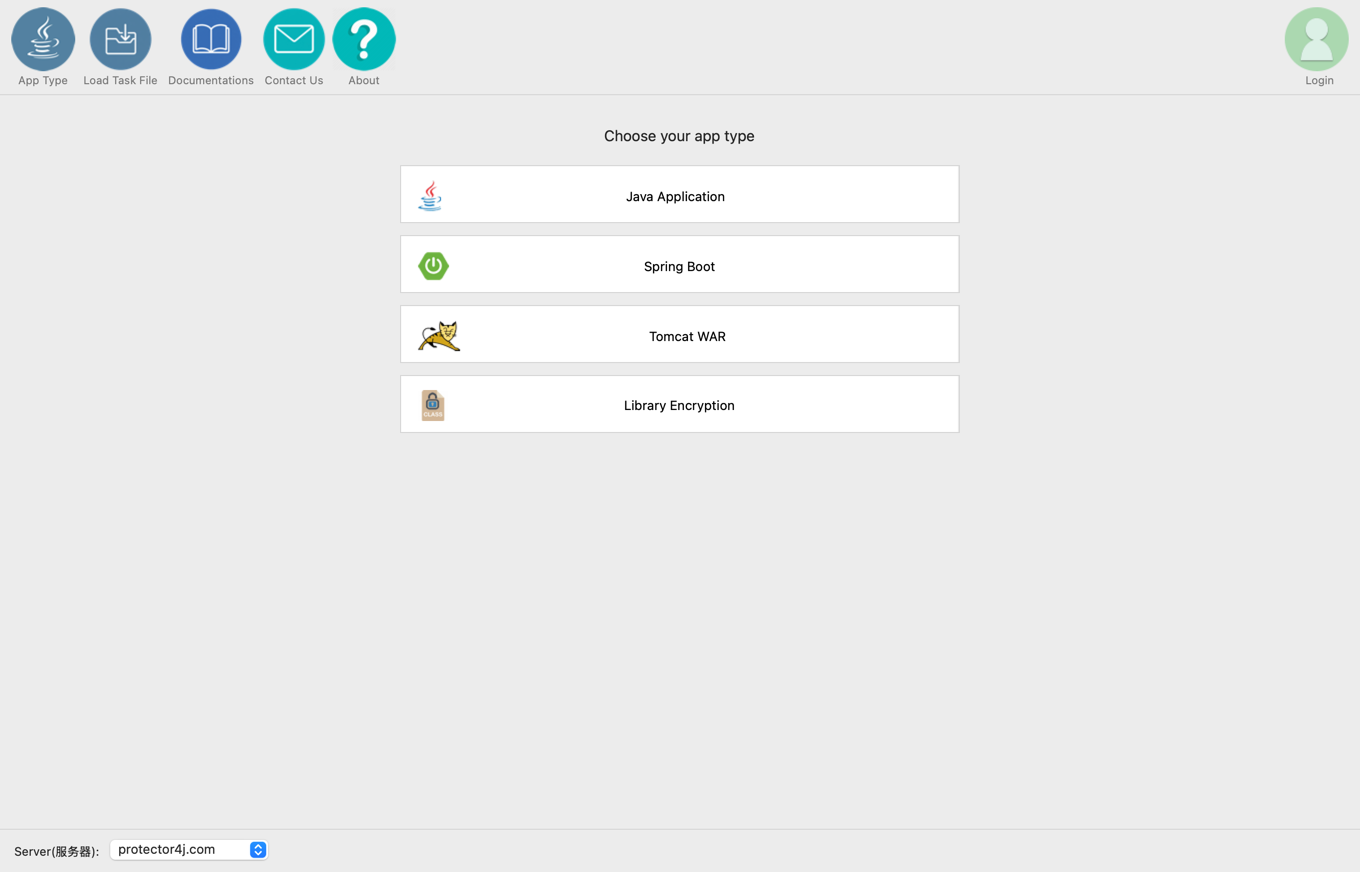
On the application type page, select Library Encryption. If you need a package that can be started directly, choose Java Application, Spring Boot, or Tomcat WAR instead.
-
Select the input JAR, the Java version matching the environment that will load it, and the target platforms, then choose simple or advanced mode. A library build contains no
vlxjre, but these choices still determine the runtime identity tied to the archive, so do not mix outputs from different platforms just to reduce the number of artifacts.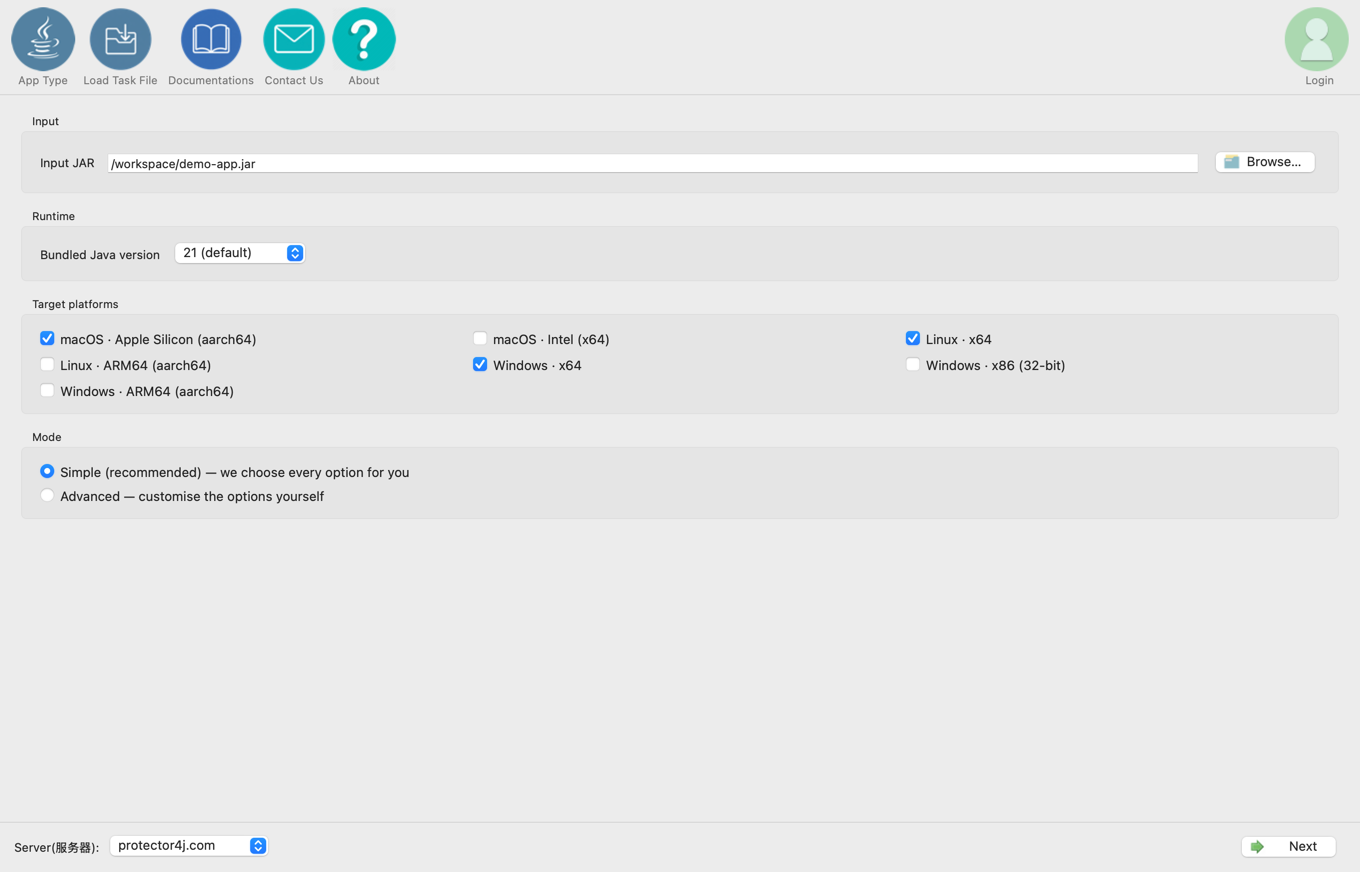
-
Simple mode scans the input JAR and applies the scanner ZIP overlay and archive suffix recommendations that Library Encryption supports. It still encrypts every
.classentry in the JAR and leaves the other resources untouched. -
Advanced mode lets you configure:
- Disable JIT for protected methods: keeps protected methods running in the interpreter only;
- Append scanner ZIP overlay: exposes public resources and metadata stubs to tools that read the ZIP central directory directly;
- Compatibility scan…: checks for risks such as ZIP access, suffix assumptions, JNI and native class usage, and bytecode read at run time.
-
On the output page, enter the full output file name — normally with the
.p4jxsuffix. Use.jaronly when an integration insists on it. The Archive suffix setting on the advanced page, or the scan recommendation, switches the chosen file name between.p4jxand.jar. Review the Java version, target platforms, JIT setting, and scanner overlay, then click Run protection.A single-platform task writes exactly the file path you chose. When you select several target platforms, the GUI creates one subdirectory per platform next to that file and writes the corresponding archive into each.
2. When to use it
- Protecting your own JARs that are part of another P4JX application you control;
- Loading a P4JX archive from an existing launcher;
- Advanced integrations where you manage the full delivery directory yourself.
If you are building a standard executable application, a Spring Boot application, or a Tomcat deployment, use the matching packaging command instead.
3. Basic commands
p4j encode library.jar library.p4jx
The short form works too:
p4j library.jar library.p4jx
encode writes exactly the output file name you give it, so both of these produce a P4JX archive:
p4j encode library.jar library.p4jx
p4j encode library.jar library.jar
4. ZIP overlay
p4j encode library.jar library.p4jx \
  --zip-overlay scanner
The overlay holds only public resources, directories, and metadata stubs, so that tools reading the ZIP central directory directly still work. It does not expose the real protected methods, and it does not turn the P4JX archive into an ordinary JAR.
5. Runtime requirements
The low-level encode does not produce a vlxjre, so you must supply a VLX runtime matching the identity used at encoding time. Do not:
- Load the archive with an ordinary OpenJDK or Oracle JDK;
- Copy
lib/modulesor native libraries out of a package built for a different version; - Pair the archive with a runtime from a different target platform, JDK line, or encoding run.
For ordinary delivery projects, prefer the higher-level packaging commands, which keep these relationships correct for you.
6. Licensing
Generating an archive requires a license issued by the server, which is embedded in the result. Licensed accounts and trial mode go through the same archive verification. In automated environments, never hardcode the password in an exported task script.