Protect JavaSE applications
Getting Started Videos
Download
Visit https://protector4j.com/download to download the latest version
Installation
Windows and Linux
There are no special installation steps, just download the archive and extract it.
macOS
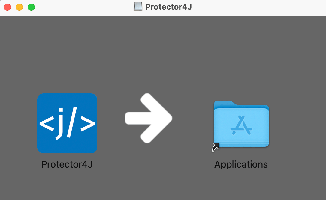
Download the dmg file and drag Protector4J to Applications. The actual contents of this tool are in /Applications/Protector4J.app/Contents/protector4j-mac
Encrypt JavaSE applications with GUI tools
Go to the Protector4J folder, execute p4j-ui[.exe], you will see the following user interface.
For macOS users, simply double-click on Protector4J.app like a regular Mac application.
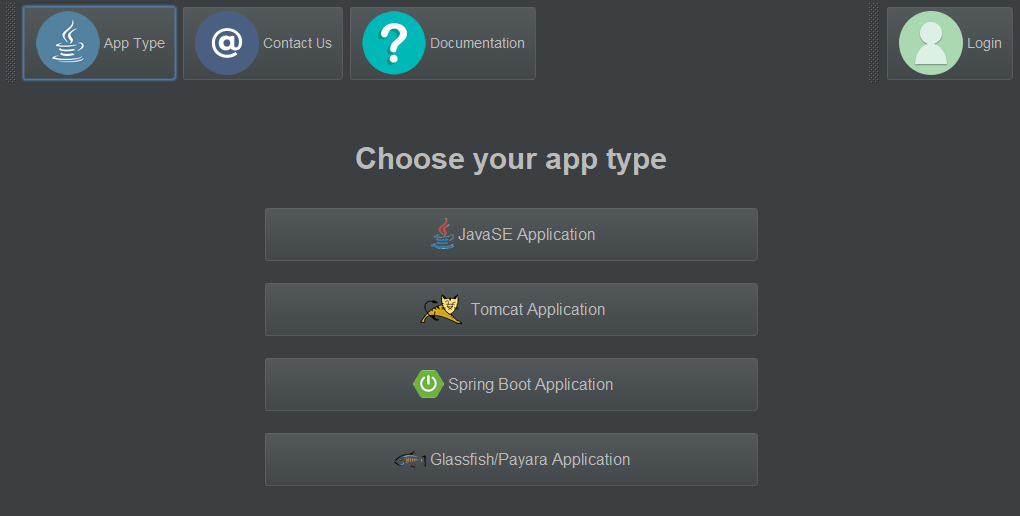
Login
If you have already purchased the license, please click on the login button in the upper right corner and input your user information. If you do not have a license, you can still try out this tool.
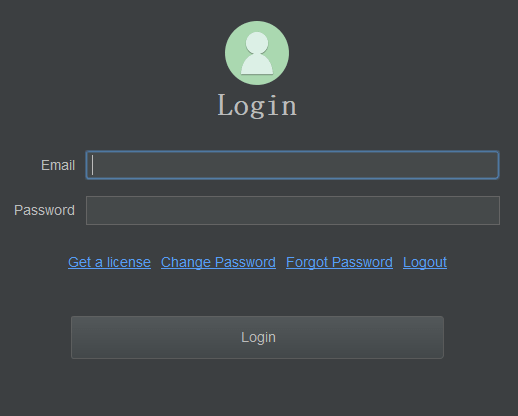
Select Application Type
Click on the "JavaSE Application" button on the application type page.
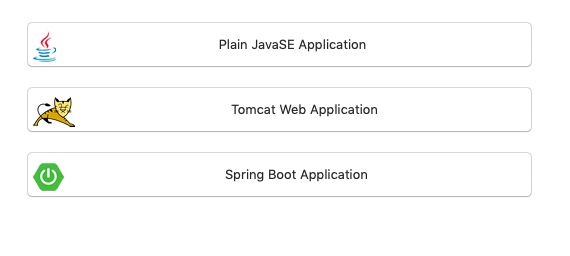
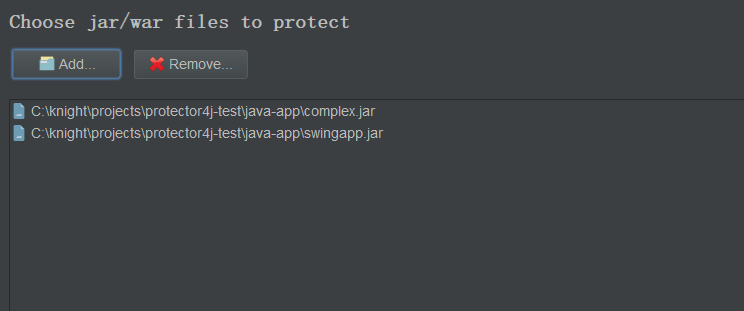
Select the jar/war file that needs to be encrypted
Select the jar/war files you want to encrypt, you can select one or multiple files
Options
Only encrypt jar files
Only encrypt the jar files, without deploying the entire jre. This option is usually used in combination with the KeySeed feature to update existing programs.
Create executable file
Create an executable file for launching the application, please do not add .exe extension.
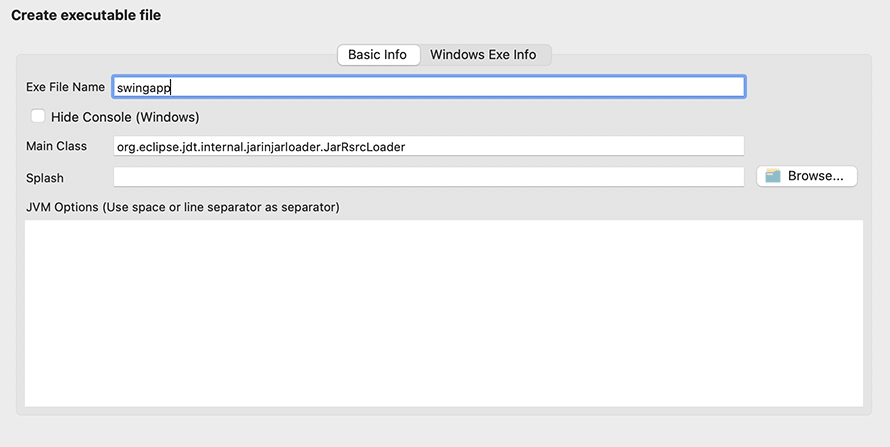
Hidden Console
This option is only effective for GUI programs on Windows and is used to hide the command line window during program execution.
JVM Options
Set JVM options, such as -Xmx and -Xms, separated by spaces or line breaks.
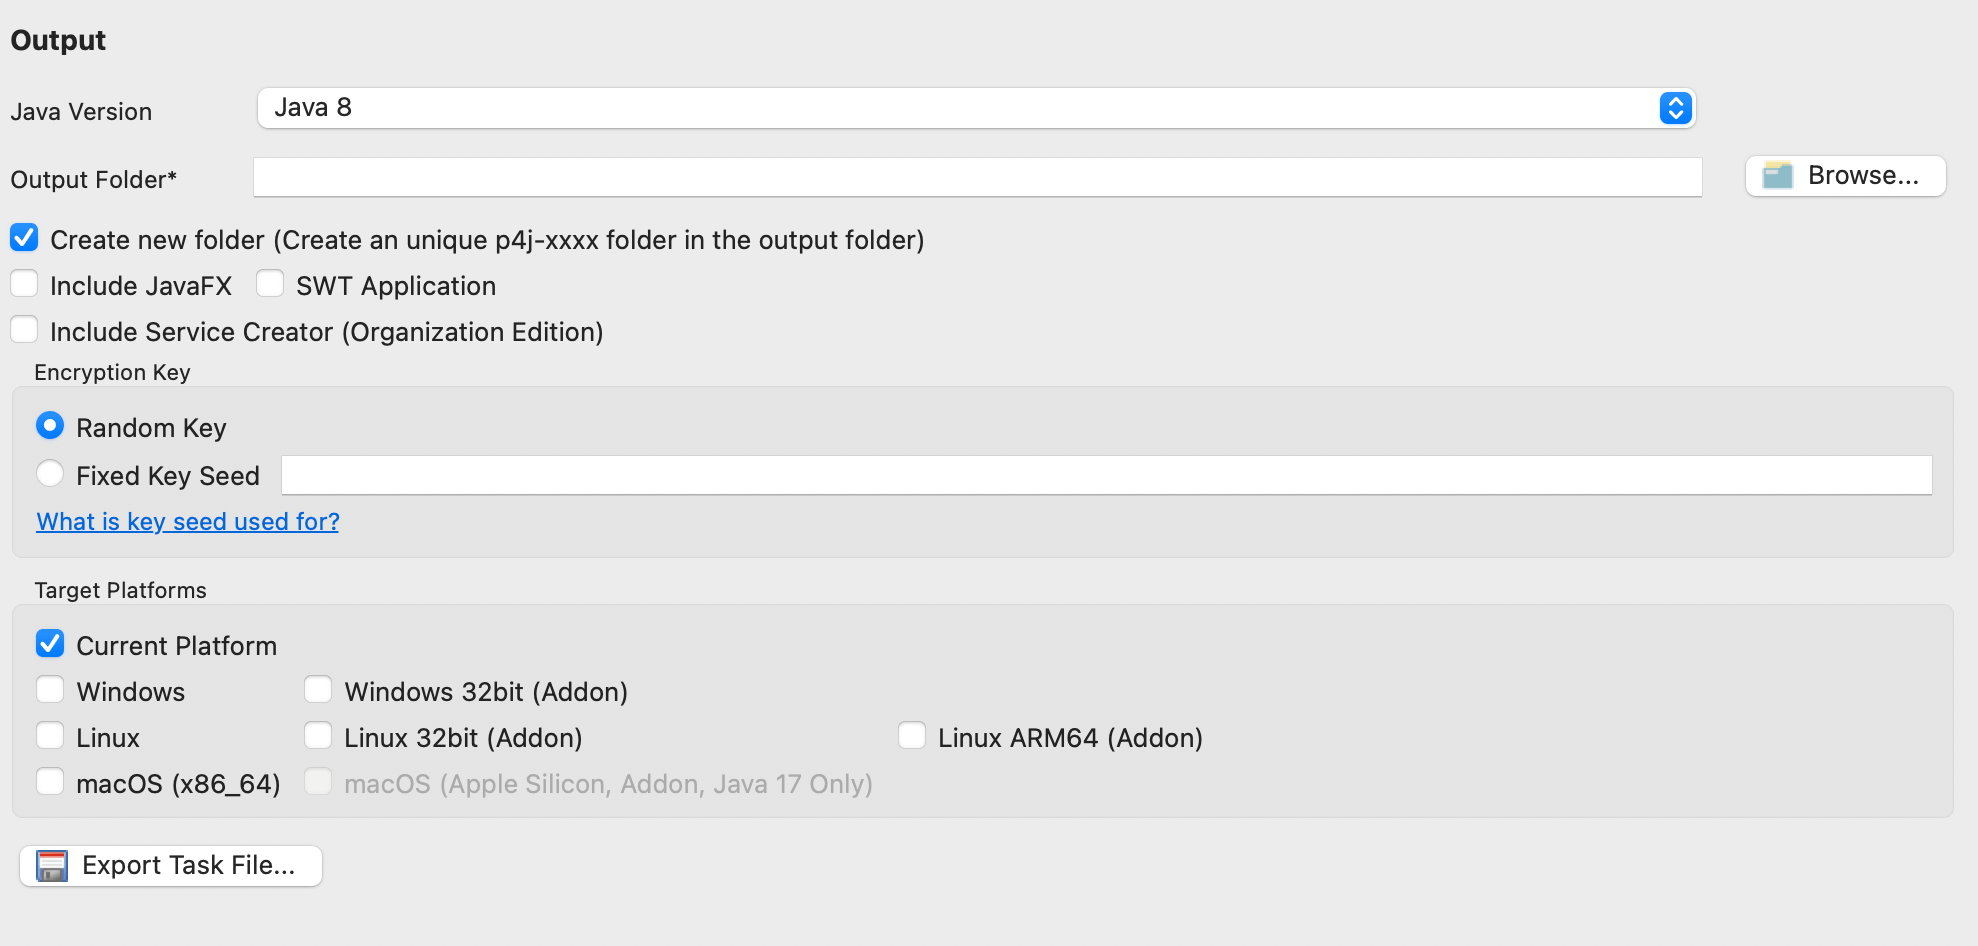
output
Java version selection
Choose the Java version, supporting Java 8, Java 11, Java 17 and Java 21
Create new folder
Default selected, the encryption task will create a file named p4j-[task-id] in the output folder, The output result is stored in this folder.
Including JavaFX
If it is a JavaFX application, please select this option
SWT Application
If it is an SWT application, please select this option.
KeySeed
The encryption task will request a random key from the server for encryption by default. Files generated in different encryption tasks can't be used together. If KeySeed is specified, the same KeySeed will generate the same encryption key. This option can be used with the previous "Only Encrypt Jar Files" option to update existing applications. This option is only valid for licensed users.
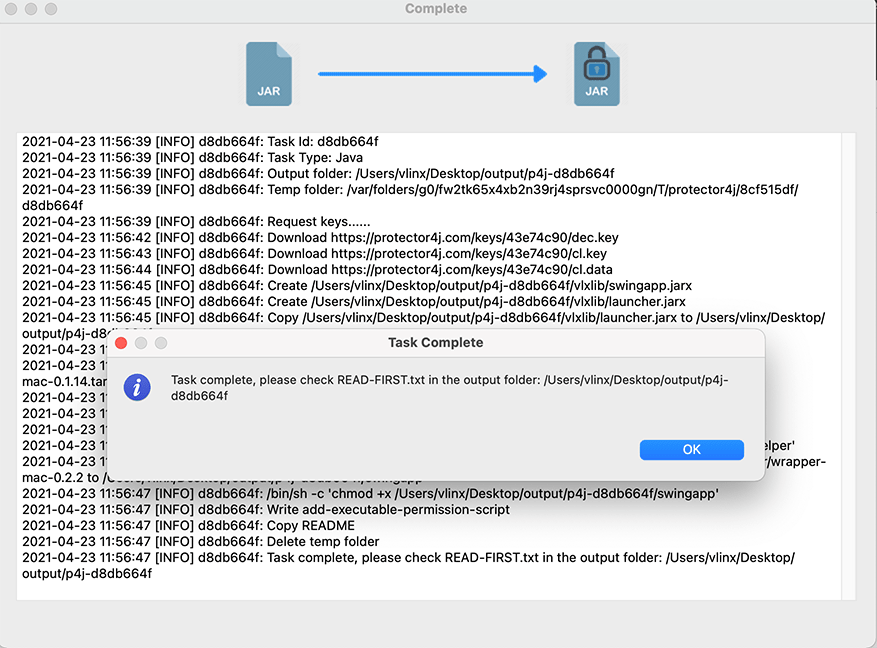
Execute Encryption Task
Please wait for a while, after the encryption task is completed, you can see the output result of the encrypted application in the output folder.
Run encrypted applications
There are three ways to run the encrypted application
- Run with exe file
If the target platform is Window, you can run the encrypted application with the executable file generated during the encryption task.
- Run with script
If the target platform is Linux or macOS, you can find a script file with the name exe-name.sh, you can run the application with this script file.
- Running the program with traditional Java command
You can also manually run the program with vlxjre/bin/java, the format of this command is the same as the normal java command.
We can see a folder named vlxjre in the output directory, which is our customized JRE, and the encrypted jar files are stored in the vlxlib folder.
vlxjre/bin/java -jar vlxlib/xxx.jar
vlxjre/bin/java -cp vlxlib/xxx.jar MainClass
vlxjre/bin/java -cp "vlxlib/*" MainClass
vlxjre/bin/java -Xms512M -Xmx1024m -cp "vlxlib/*" MainClass
Java 8 currently does not support running via vlxjre/bin/java -jar. Please use vlxjre/bin/java -cp xx MainClass
Notices
If the target platform of this program is macOS or Linux, but it is built on Windows, please execute add-executable-permission.sh on the target platform for granting execution permission to the program before first startup.
Modify the JVM parameters of the exe file
Windows
If you need to modify the JVM parameters of the exe file, edit exe-name.json and modify the values in the JArgs array.
"JArgs": [
  "-DParam1=value1",
  "-DParam2=value2"
]
Linux and macOS
Just open the script file and add or modify the JVM parameters.
Encrypt JavaSE applications with CLI tool.
Configuration file
CLI tool need to specify a task file as a parameter.
Go to the protector4j/task-templates folder, find java-task.yml, copy and modify one.
# Available values: 8,11,17,21
javaVersion: 17

# The jar files that need to be encrypted
jarFiles: []
# Only encrypt the jar files, do not deploy the runtime
# This option is used while upgrading an existing application
onlyEncryptJarFiles: false

## [ Executable file information ]
# The executable file name
exeFileName: ''
# Hide command line window, only valid for Windows
hideConsole: false
# The main class of this Java Application
mainClass: ''
# The splash image
splash: ''
# JVM Options
jvmOptions: []

## [ Output Options ]
# The output folder
outputFolder: ''
# Create a new and unique folder for the application, the folder name is like p4j-<taskId>
createNewFolder: true
# Whether this is a JavaFX application
includeJavaFX: false
# Whether this a swt gui application
swtApplication: false
# Fixed key seed, only avaiable for licensed user
# Jars encrypted in different tasks can be used together with same key seed
keySeed: ''
# The target platforms
# available values: [win, linux, mac] or empty for current platform
platforms: []
Execute encryption task.
Go to the Protector4J folder and execute the following command.
Linux or macOS
For macOS users, you can find the CLI tool at /Applictions/Protector4J.app/Contents/protector4j-mac.
./p4j -t java -f path-of-task-file
Windows
p4j -t java -f path-of-task-file
You can execute p4j --help to view the detailed parameters.
Run with account information
./p4j -t java -f path-of-task-file -u email -p password
View results
After the encryption task is completed, please go to the output folder to check the results.
Run encrypted applications
There are three ways to run the encrypted application
- Run with exe file
If the target platform is Window, you can run the encrypted application with the executable file generated by the encryption task.
- Run with script
If the target platform is Linux or macOS, you can find a script file with the name exe-name.sh, you can run the application with this script file.
- Running the program with traditional Java command
You can also manually run the program with vlxjre/bin/java, the format of this command is the same as the normal java command.
We can see a folder named vlxjre in the output directory, which is our customized JRE, and the encrypted jar files are stored in the vlxlib folder.
vlxjre/bin/java -jar vlxlib/xxx.jar
vlxjre/bin/java -cp vlxlib/xxx.jar MainClass
vlxjre/bin/java -cp "vlxlib/*" MainClass
vlxjre/bin/java -Xms512M -Xmx1024m -cp "vlxlib/*" MainClass
Java 8 currently does not support running via vlxjre/bin/java -jar. Please use vlxjre/bin/java -cp xx MainClass
Notices
If the target platform of this program is macOS or Linux, but it is built on Windows, please execute add-executable-permission.sh on the target platform for granting execution permission to the program before first startup.